Dining Room Table Transformation
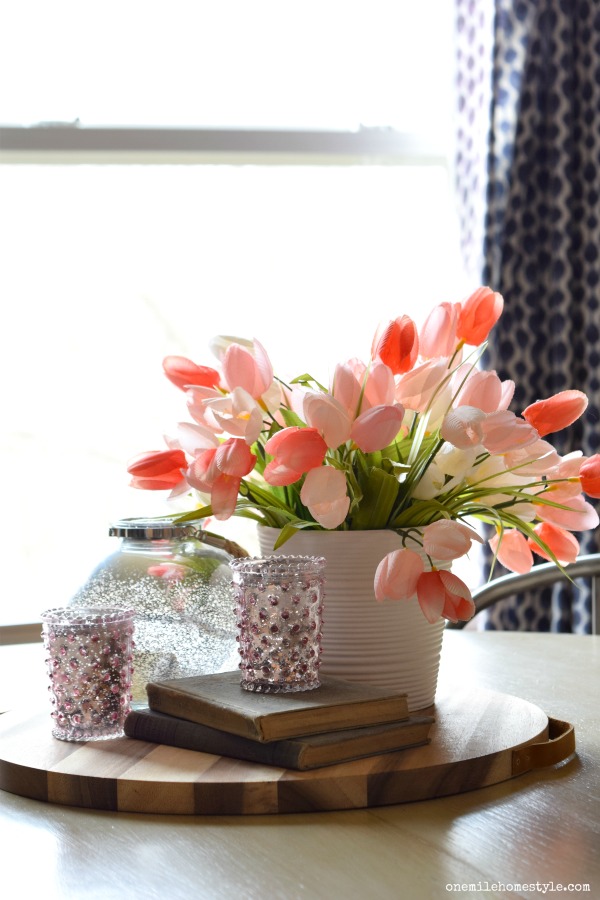
So, on Monday this was one of the many pictures that I shared with you of my dining room reveal. Today lets take a look at how simple it was to refinish the dining room table.
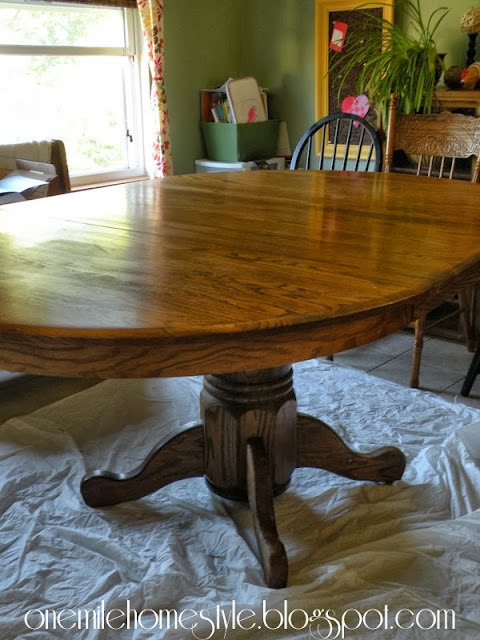
We started this project with your everyday round oak dining room table. Overall it was still in excellent condition, minus the patch of finish that was missing due to a crafting mishap that involved an iron. (Note to self: When using your iron on high heat to apply iron-on transfers to fabric, maybe an ironing board is a better option in place of a towel on the dining room table.)
I knew I wanted to paint the table, but I am lazy was not at all interested in sanding this entire table. Enter the Rustoleum Furniture Transformations kit (I just really liked this kit, the nice folks a Rustoleum don't even know who I am), I chose the Winter Fog finish. This was a great way to refinish a large piece of furniture, no sanding was required and everything was included in the kit except for the paint brush.
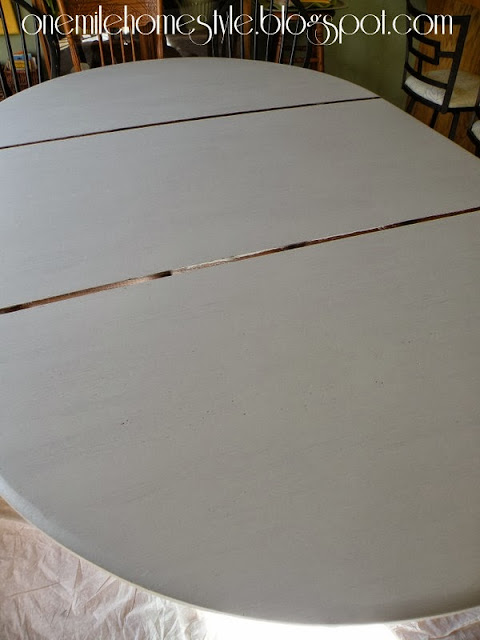
The first step is to not forget to put the leaf in the table so that it can get the same finish as the rest of the table. Then you will want to put a drop cloth under the table, just in case you get a little messy.
I didn't take a picture of it, but the next step is putting a coat of the deglosser on the entire table and then wiping down the table to remove the deglosser. And then you wait for it to dry... If you're like me, you count down the minutes until you can start painting. The first coat covered well, but a lot of the wood grain was still showing through.
More waiting...and then the second coat went on. This completely covered the table and I was actually considering leaving the table this color and not using the included glaze. But, after letting it sit for a while it was just looking a little too bright white, I thought I would at least do a test area of the glaze to see how it looked.
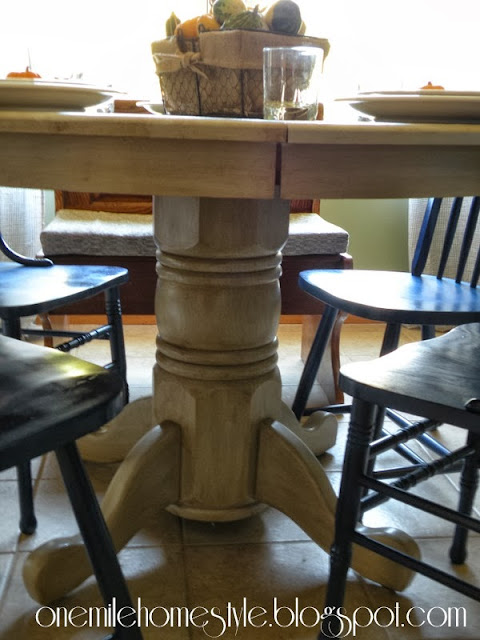
Boy, am I glad I gave the glaze a try! The best thing with the glaze is that you can use as much or as little as you like. I went pretty light with it, and I love how it turned out. Also, important to note, when you are putting on the paint, the glaze and the clear topcoat, (really when you are finishing/refinishing any wood in general) go with the wood grain, not against it.
Just because I can't get enough of the finished look, here is another shot of the table and chairs all together. Ahhh, so lovely!!
Have you ever used one of these refinishing kits? What in your home is in need of a refinishing treatment?


This looks great! I absolutely love the color! I'm dying to paint my dining room table but I'm so torn because I love the dark wood, too.
ReplyDeleteI found you via The Blissful Bee!
Happy Wednesday!
~Amber
Your table turned out so beautiful!
ReplyDeleteThank You!
DeleteSteph
Love the way the table turned out, I did somewhat the same with some of my living room furniture, after I stripped them,I just left them unfinished, just a look that seems so in fashion and clean, love your table and how it turned out...come onover for a visit...I am a new follower of yours
ReplyDeleteThank you so much for stopping, and thank you for following along!
DeleteSteph
I have the exact same table Stephanie and have been wanting to paint it white for months. This gave me the inspiration to "get er done" - very pretty! I found this over at the Give Me The Goods party.
ReplyDeleteMarie@InteriorFrugalista
I am so happy to hear that this inspired you to paint your table. It makes it feel brand new and really does transform the entire space. Thanks for stopping by!
DeleteSteph
Oh WOW this turned out beautiful!!!! Thanks for sharing on DIY Sunday Showcase! I'm gonna pin this one!
ReplyDeleteOh wow!! That's gorgeous! Makes me want to find some furniture to try it out on!!
ReplyDeleteYou totally should! It was so easy, and makes such a big difference.
DeleteSteph
This new look really looks awesome on the table. You have done a fabulous job with the table.
ReplyDeleteThank you!
DeleteSteph