Quick Living Room Gallery Wall Update
Sometimes you just need to change things up a little in your home to keep it feeling fresh; our gallery wall was one of those things. I had a random day off awhile back, and had every intention of sitting back in my pj's, watching a Fixer Upper marathon, and doing nothing else all day...Well, any of you who know me, know that I am completely incapable of sitting around and doing nothing, like, it's physically impossible, I have to be doing something.
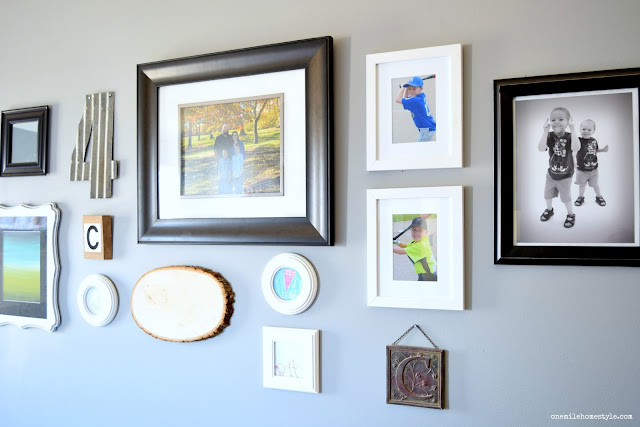
So, I decided to take everything down off the main wall in our family room (except for the large family photo, it was staying put), gather a few odds and ends, and other photos and art from around the house, and give this wall a little update. I like the mix of black and white frames with just a little bit of rustic metal and wood added for texture.
The first thing I did was start laying everything out on the floor, along with the placeholder piece of paper cut to the size of the large photo already on the wall. (In case you missed it, here is my previous post on how-to create a gallery wall.) Then I just played around with the layout until I was happy with it. I still ended up putting a couple of extra holes in the wall, but laying it all out on the floor first at least saved me from making even more holes.
This time around, I spaced everything out a little bit more, and left some room to still add more to the wall later. Oh, and see that blank wood slice* there? Be sure to come back next week to see what I made with it, I promise you won't be disappointed!
I love projects that don't cost me a dime, but update the look and feel of a room. And, it was a good way to spend a quiet day at home!


I love how you've added family pics in there with the unique pieces.
ReplyDelete